Thursday, 17 March 2011

17.03.2011 - Final Garments

Final garments are still being made/finished, and the fashion studio was full of students trying to perfect their final pieces. I had a lot of trouble with my garment as an inexperienced fashion designer and although required some help, managed to finish.
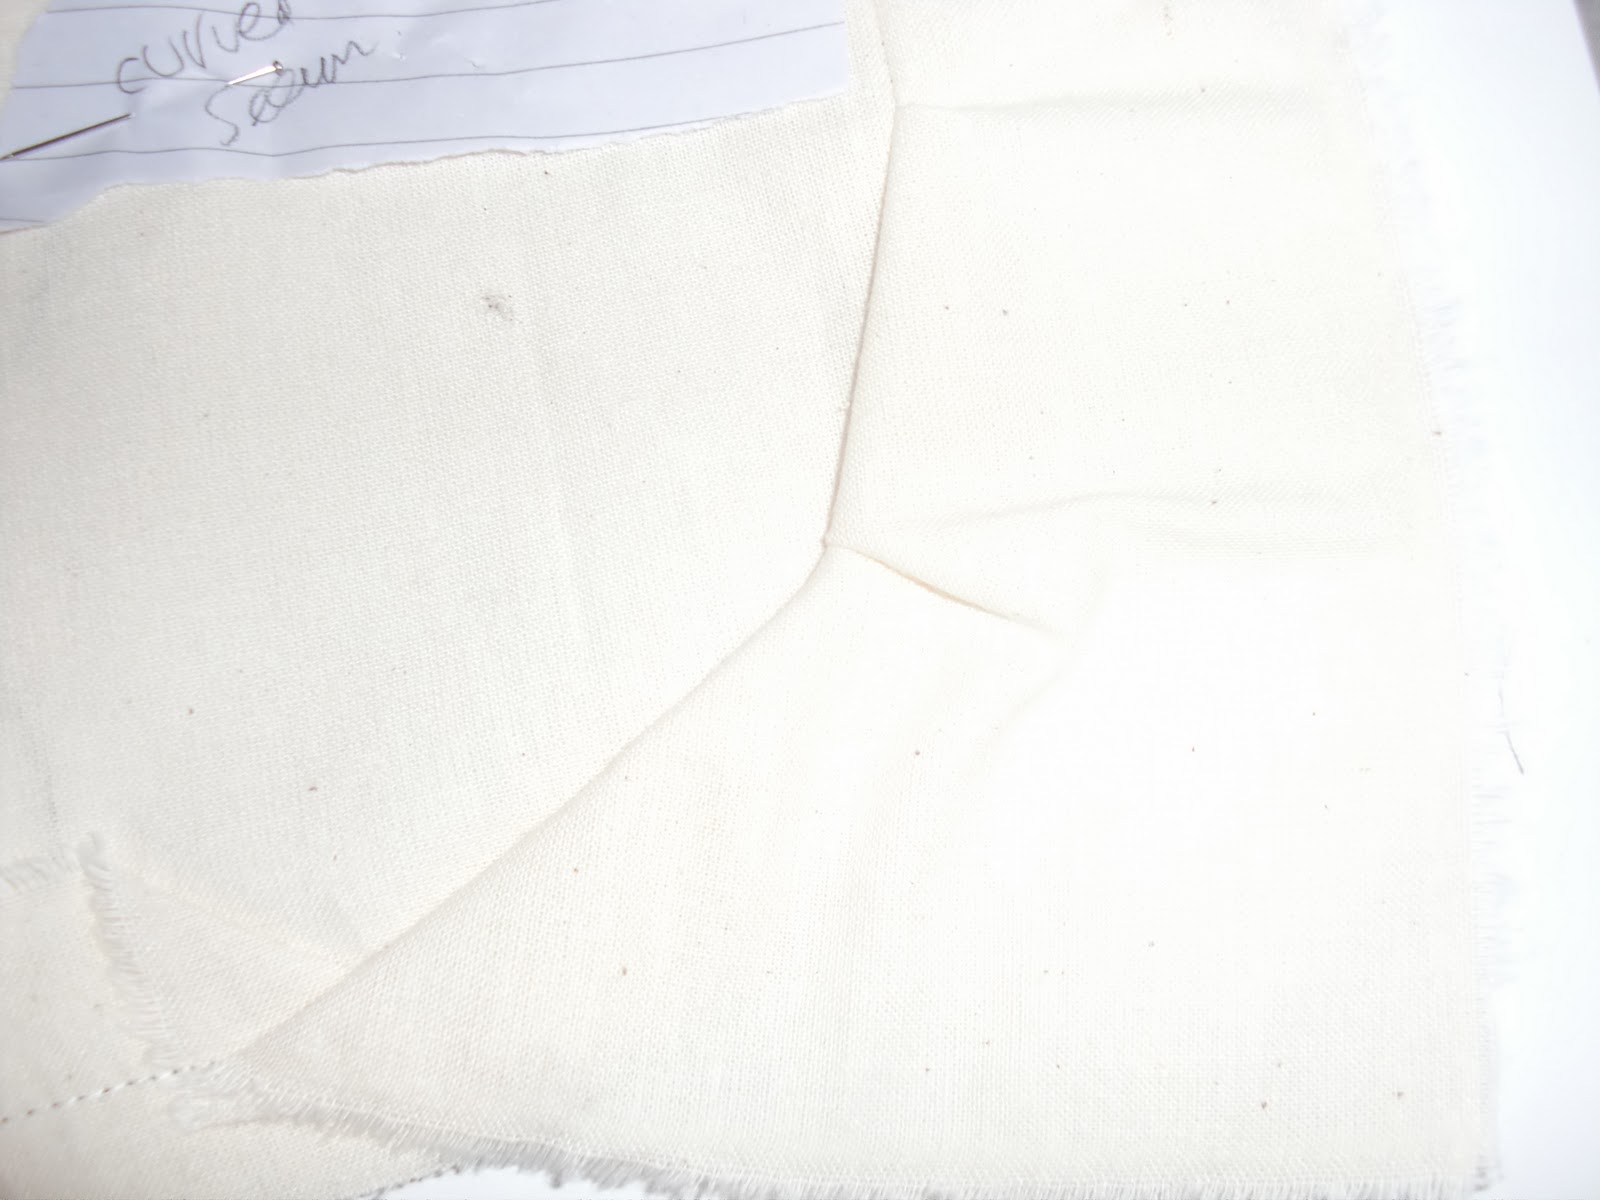
I then got told that if the garments were not lined, then either facing/binding had to be in place, which made me panic, because i had already overlocked my whole garment and was too late to create new patterns for lining, so i decided to try binding.
After taking the garment home, and a LOT of unpicking...


Ready for the Catwalk - 18.03.2011
I worked extremely hard on this and i hope you like it! :)

10.03.2011 + 11.03.2011 - Garment Construction

This week was all about creating final garments. My group's initial theme was 60's and after careful consideration, and after a member of our group had been removed from the module, we did not have any more time to waste as originally, a pattern for their design was made, and the twirl had also been started. This left our group with 4 dresses to make instead of 5.
My group's colour theme was 'Black and White 60's' and each dress would have one detail in a colour, for example a zip/button. The twirl and dresses would be made by the same person, as only having four members did not allow another rotation.


Sunday, 13 March 2011

03.03.2011 - Garment construction

Bein new to Fashion design, i found this processs of creating a garment extremely difficult, but tried hard to use knowledge i had gained to make a, which would hopefully give me a better understanding of how to construct a full garment/dress..
After the twirls had been finished,We then went on to deciding on the best type of fabric for our final garments that would be showcased in a final fashion show of the whole group collection. We chose cotton drill as it was reasonable in price, and also a good hard fabric that would represent our theme well.

25.02.2011 - Dye Workshop + Garment Construction

The dye workshop helped us to gain a better understanding of the different types of dyes that work for different fabrics, and after we were shown how to use the dyes, we got to make some of our own samples.
We then made our own dye samples. I used a method called "Dip Dyeing"

The 2nd half of the day was concentrating on making the twirls which would then be passed around to create final garments.
During this process, our group had a problem of non attendance, leading to a member being removed from the module, however we then continued to work as a group of four.

Sunday, 27 February 2011

24.02.2011 - Pattern Cutting

We started working on our collection of 5 dresses as a group, by creating our patterns for our final 5 designs. We each swapped around our designs, and drew out/ Cut the patterns.

As some of us were very familiar with pattern cutting, others had no experience, so my group worked extremely well together and helped solve any problems, which made the pattern cuttin of the designs successful.

18.02.2011 - Fabric File + Sewing Skills Continuation

We were given some information on Fabics/Fibres, and also continued with our sewing skills, but finishing samples. As it was difficult to take pictures while sewing, i decided to finish my samples first and take pictures of the final piece, so here are some pictures of samples i done.


Thursday, 24 February 2011

17.02.2011 - Group Pattern Cutting Rotating with Sewing Skills

In this lesson we did basic pattern cutting to understand dart manipulation, and get comfortable with taking a pattern apart and putting it back together. We also spent half of the day working on our sewing files, creating samples of fabric with different stictching on them.


We first cut out our basic dress block, and pinned it on the manican. After pinning it in place we used sellotape and taped around the whole thing so it could be secure for us to cut up.

After the whole pattern was covered, we drew over it, creating a random dress pattern.
This was then cut up, and manipulated, which helped gain a better undertstanding of pattern cutting.

Working on Collection (2)

After looking at research into the '60s', my group and i came to an idea of using block colours (black and white) for each basic dress, and then adapting it by adding any extra detailing (eg zip) in colour, but each dress using a different colour from our colour palet.
I started off by drawing some initial design ideas:

Sunday, 20 February 2011

Working on Collection (1)

In my study time, i decided to do some research for the group collection. Our group decided on looking at the 60's and dress styles from the 60's, and then add a modern twist using colours and incorporating current styles into the collection of dresses. After conducting some primary research, our colour palet was chosen and we decided on using:
Pastel Pink
Rusty Orange
Turqoise
Black
White

I then started off by creating 2 moodboards. The first moodboard looked at 60's fashion and trends.

The second moodboard i chose 2 colours from the colour palet, as did the rest of my group and we each made a moodboard based on each of our colours. The colours i chose were black and white.

11.02.2010 - Trip visiting Fabric shops

This trip in London required us to get in to our groups and explore the city to find different fabric shops where we could sample fabrics to add to our fabric file and get some inspiration for which fabrics we could use for our final clothing line of 5 dresses.
My group visited many different places including:
Selfridges
Liberties
Soho: Berwick street where we found many fabric shops along the whole street.

After spending the day travelling from shop to shop, we managed to take a couple of small samples from some shops, however the shops we visited i found had fabrics that were very expensive, therefore the sample sizes did not really show a clear picture of what each fabric looked/felt like.

10.02.2011 - Pattern Cutting

In our first lesson, we were required to make a basic dress block which would be used as a basic template for our final collection which could then be altered to create the dress design we decided to make. The final dress block has a back and a front piece:


Front - 1 Notch
Back - 2 Notches